How to Shake and Stir Cocktails Like a Pro
Master the physical execution behind a better drink: sealing a Boston shaker, creating controlled movement, opening the tins, stirring smoothly, and straining with intention.
Good technique is not about theatrical movement. It is about controlling temperature, dilution, texture, and consistency while keeping the shaker, glassware, and everyone around you safe.
The goal is repeatability. A confident bartender should be able to make the same recipe twice and deliver nearly the same drink both times.
Know When to Shake or Stir
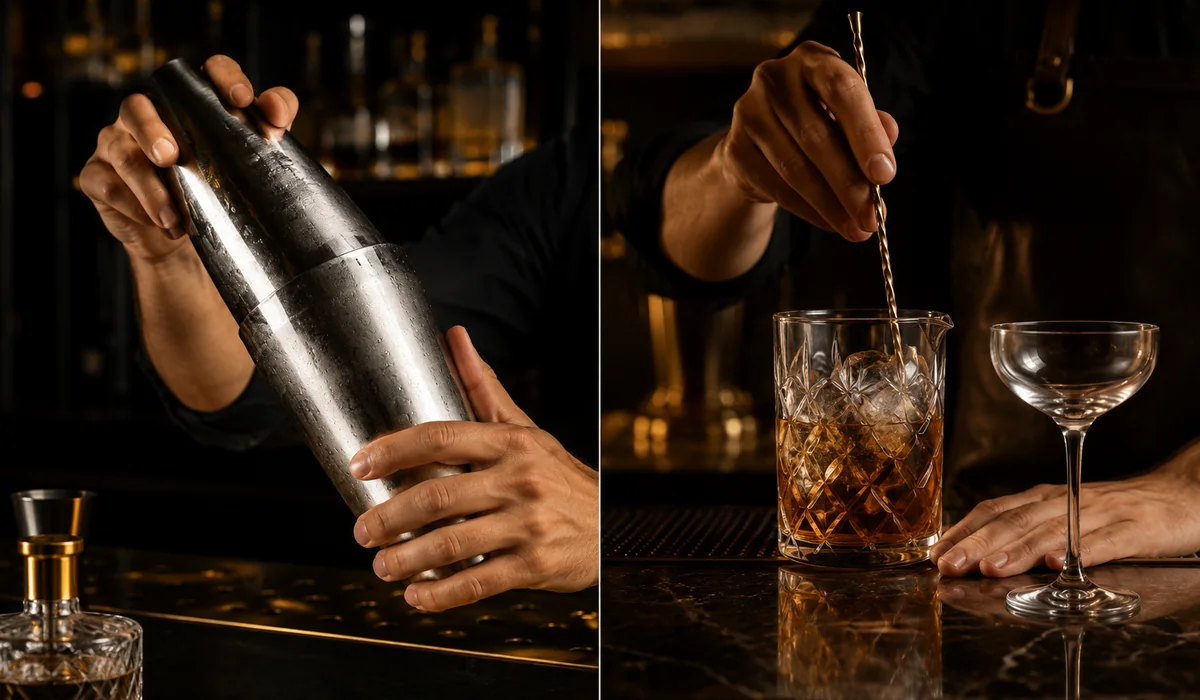
Both methods chill and dilute. The major difference is the texture they create and the ingredients they combine most effectively.
Combine, Aerate, and Add Texture
Shake drinks containing citrus juice, fruit juice, dairy, egg, thicker syrups, or other ingredients that need forceful integration.
Shaking moves ice aggressively through the liquid, producing rapid chilling and a lighter, more aerated texture.
Examples: Daiquiri, Margarita, Whiskey Sour, Bee’s Knees
Preserve Clarity and Silky Texture
Stir drinks made primarily from spirits, vermouth, liqueurs, and bitters when you want a clear, composed appearance.
Smooth stirring chills and dilutes while minimizing unwanted aeration and ice fragmentation.
Examples: Martini, Manhattan, Negroni, Boulevardier
Build and Seal the Boston Shaker
The Boston shaker becomes much less intimidating once you use a consistent build order and learn where the seal forms.

Measure Into the Small Tin
Add the liquid ingredients to the smaller tin first. This gives you room to correct a measuring mistake before the drink touches the working ice.
Add Ice to the Large Tin Last
Fill the larger tin roughly two-thirds full with cold, solid ice immediately before shaking.
Adding ice last prevents the drink from sitting and diluting while you finish measuring.
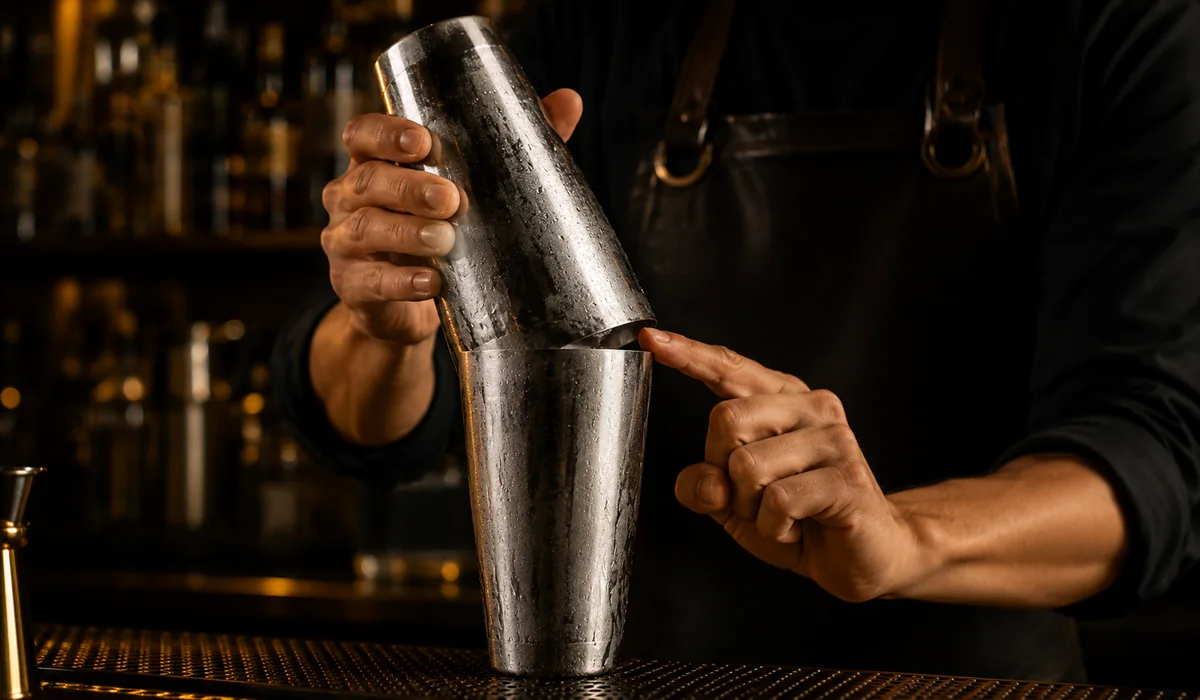
Join the Tins at an Angle
Pour the liquid over the ice. Place the smaller tin upside down inside the larger tin at a slight angle so one side sits nearly flush and the opposite side shows a visible gap.
Tap to Create the Seal
Give the top tin one firm, controlled tap with the heel of your hand. The cooling metal and pressure inside the tins will strengthen the seal during the shake.
Keep one hand supporting the lower tin while checking that the connection feels secure.
Grip, Shake, and Release
The movement should be vigorous but controlled. You are moving the ice through the full length of the tins—not trying to throw the shaker across the room.
Use Two Hands
Place one hand securely over the top tin and one around the bottom of the large tin. Keep fingers and palms controlling both ends throughout the shake.
Point It Safely
Keep the seam and open end of the shaker pointed away from guests, glassware, electronics, and anything else you do not want covered in cocktail.
Shake Across the Tins
Use a horizontal or slightly diagonal motion that sends the ice from one end of the shaker to the other.
Shake vigorously for roughly 10 to 12 seconds, or until the tins are thoroughly chilled and visibly wet or lightly frosted.
Find the Release Point
Look at the angled connection between the tins. The release point is on the side where the gap is widest, just below the rim of the upper tin.
Hold the shaker securely and strike that point with the heel of your hand. The seal should release with a clean pop.
Stir With Control
Stirring should be quiet, smooth, and nearly effortless. The goal is to rotate the ice as one cohesive mass without churning, splashing, or smashing the cubes together.

Build and Add Ice
Measure the drink into a mixing glass, then fill it generously with cold, solid ice.
Plenty of ice keeps the working temperature stable and gives the spoon a consistent mass to move.
Place the Spoon
Slide the spoon between the ice and the inside wall until the bowl reaches near the bottom.
Keep the back of the spoon in contact with the glass throughout the motion.
Use a Light Grip
Hold the twisted shaft lightly between the thumb and first two fingers. The spoon should roll naturally between your fingers as it moves around the glass.
Follow the Perimeter
Push and pull the spoon smoothly around the inner wall. Do not churn through the center like you are stirring batter.
The ice should rotate around the middle in a quiet, controlled whirlpool.
Strain for the Finished Texture
Straining is the final physical decision. Choose the method based on the drink’s ingredients and the texture you want in the glass.

Hawthorne Strainer
Seat the Hawthorne strainer firmly over the opening of the large tin. Hold it in place with your index finger and pour with steady control.
The spring retains the working ice and larger pieces of fruit, herbs, or pulp.
Julep or Hawthorne Strainer
A Julep strainer is traditional for mixing glasses, but a Hawthorne strainer works perfectly well when it fits the vessel securely.
Pour smoothly so the drink remains clear and composed.
Fine Straining
Hold a small fine-mesh strainer directly over the serving glass and pour through both strainers.
This catches small ice fragments, seeds, and fine pulp when a particularly smooth presentation is desired.
The Execution Cheat Sheet
Use this as the baseline, then adjust for the recipe, ice, tools, and temperature in front of you.
| Method | Best For | Movement | Starting Time |
|---|---|---|---|
| Shake | Citrus, juice, egg, dairy, thicker ingredients | Vigorous movement across the full length of the tins | About 10–12 seconds |
| Stir | Spirit-forward, clear cocktails | Smooth rotation along the inside wall | About 30–45 seconds |
| Hawthorne Strain | Most shaken cocktails | Steady pour with strainer held firmly | Until the tin is empty |
| Fine Strain | Drinks needing minimal pulp or ice fragments | Pour through Hawthorne and fine mesh together | Only when useful |
You Finished the Home Bar Collection
You now have the foundation: what to stock, how to improve a drink, how to use ice, and how to execute the technique. Put it all to work with ingredients already in your home bar.