Upgrading Your Ice Game
Ice is not just there to make a drink cold. It controls temperature, dilution, texture, presentation, and how a cocktail changes while you drink it.
Ice is one of the most overlooked ingredients in a cocktail. Standard freezer cubes are usually small and freeze from several directions at once, trapping air in a cloudy center.
Their size and exposed surface area also cause them to change a drink more quickly than one large serving cube. The goal is not simply prettier ice—it is using the right ice for the job.
Understand the Two Jobs of Ice
Ice used to prepare a cocktail has a different job from the ice that remains in the serving glass.
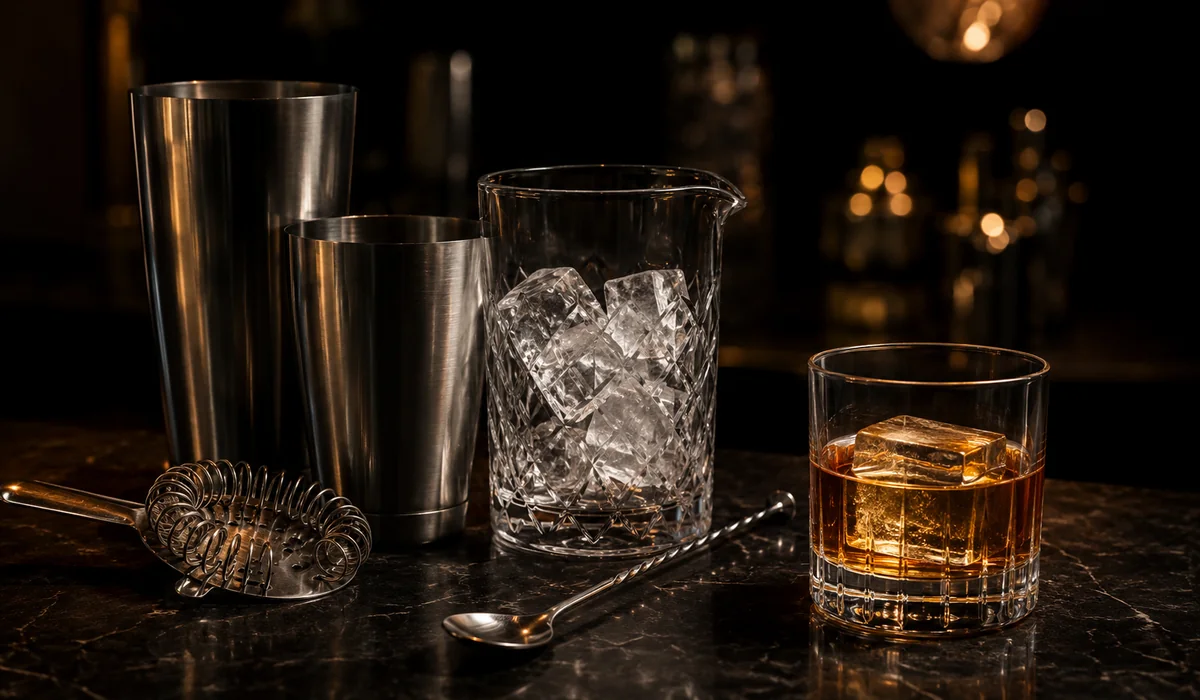
For Shaking and Stirring
Solid, roughly one-inch cubes are easy to handle and strain. Their job is to chill the drink quickly while contributing the dilution required to bring the recipe into balance.
Use for: shakers, mixing glasses, quick chilling
For the Finished Drink
One large cube or sphere exposes less surface area relative to its volume than several small cubes. It chills the drink while changing it more gradually as you sip.
Use for: Old Fashioneds, Negronis, neat pours
The Core Concept: Directional Freezing
Clear ice is created by controlling the direction in which the water freezes.
Freezing From Every Direction
In a standard tray, cold air reaches the water from several sides. As freezing fronts meet, dissolved gases and other material become trapped near the center, creating the familiar cloudy core.
Freezing From the Top Down
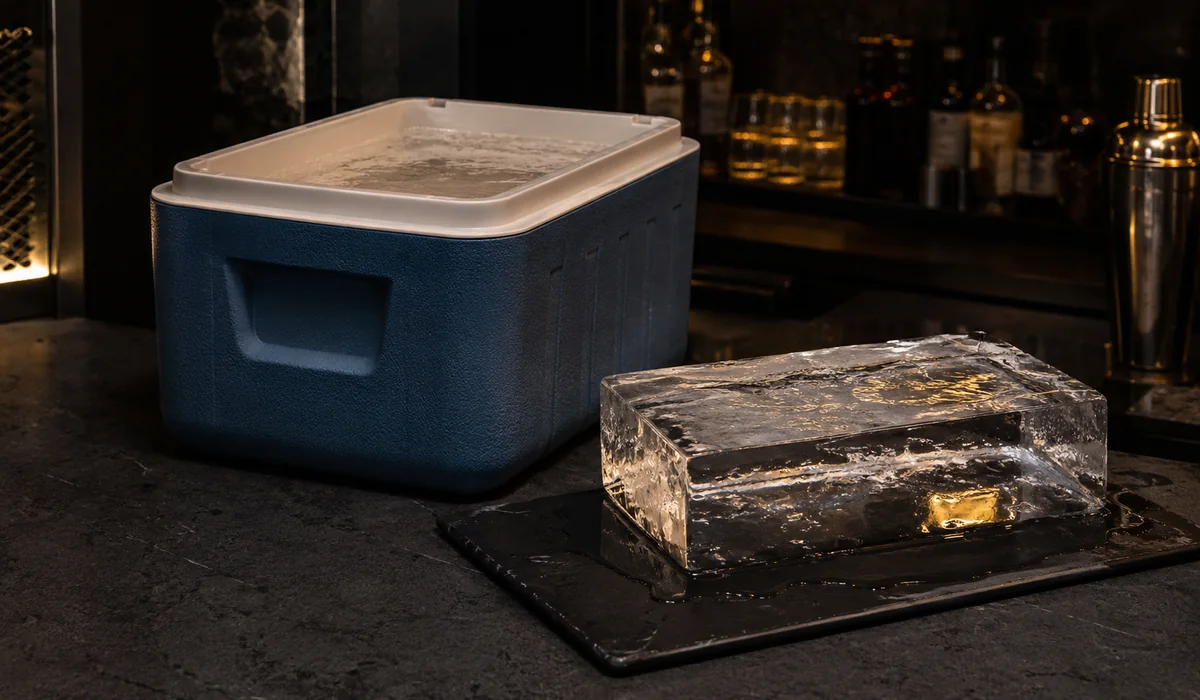
An insulated container slows freezing along the sides and bottom. The ice grows primarily from the exposed top, pushing cloudiness toward the last section of water to freeze.
The DIY Cooler Method
This is the most economical way to produce a batch of large, clear cubes. You need a small insulated cooler that fits level inside your freezer.
Fill the Open Cooler
Remove the lid completely. Fill the cooler with tap or filtered water, leaving roughly two inches of space at the top for expansion.
Partially Freeze It
Place the open cooler level in the freezer. Begin checking it around 18 hours. Timing varies by freezer and cooler size.
The target is a mostly frozen clear block with liquid or cloudy ice remaining at the bottom.
Harvest the Block
Turn the cooler over in a clean sink and allow the block to release. Drain the unfrozen water and remove the cloudy bottom section.
Temper and Divide
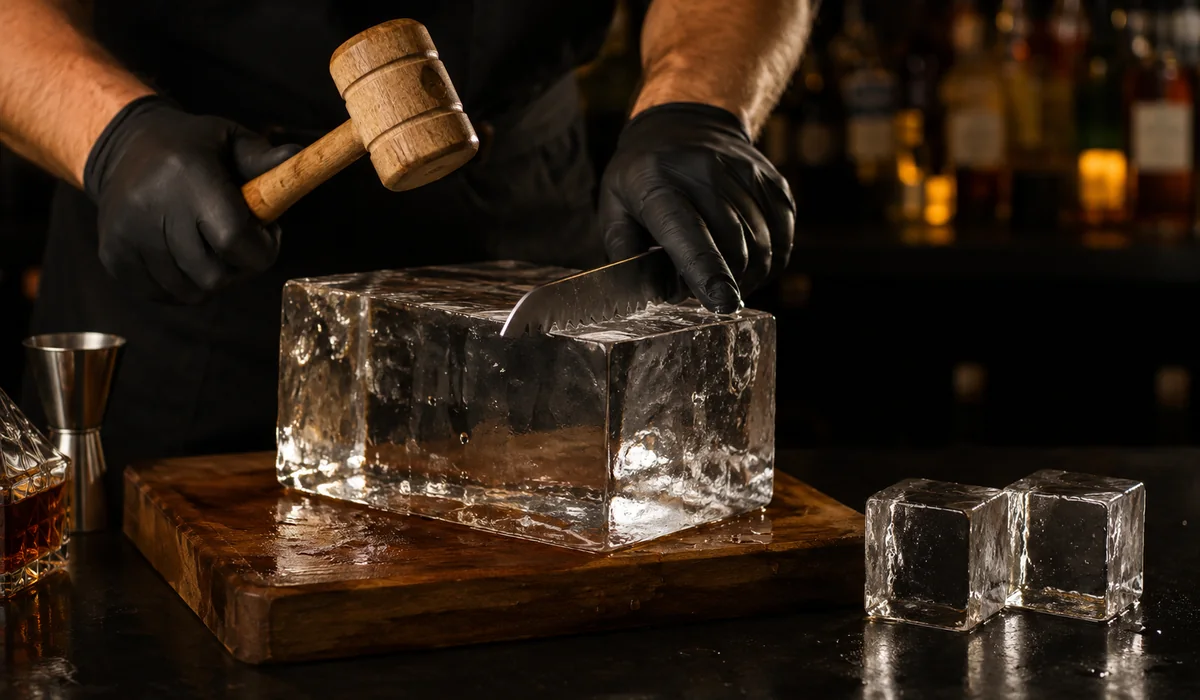
Allow the block to warm until the surface becomes glossy. Score it with a clean serrated knife, then tap the spine of the knife gently with a rubber mallet to split the ice.
Dedicated Clear-Ice Molds
A dedicated system uses the same directional-freezing principle but forms finished cubes or spheres without requiring you to cut a large block.
Berlinzo Ice Ball Maker Mold
A multi-sphere option for preparing several large serving pieces at once. Check the listed dimensions against your available freezer space before ordering.
View the Berlinzo mold Affiliate linkGlazer Mini Clear Sphere
A compact clear-sphere system for home bars with limited freezer space or anyone who prefers producing a smaller batch at a time.
View the Glazer Mini Affiliate linkMatch the Ice to the Drink
No single ice shape is best for every cocktail. Choose based on whether you want rapid chilling, gradual dilution, or deliberate melting.

Standard Solid Cubes
Dependable for shaking and stirring. Chill the drink, reach the intended dilution, then strain them out.
Shaken cocktails and stirred drinks
Large Clear Cubes
A large cube provides gradual change and a polished appearance without overwhelming a rocks glass.
Old Fashioneds, Negronis, spirit-forward drinks
Clear Spheres
A sphere offers very little surface area for its volume and looks especially clean in a neat pour or simple spirit-forward drink.
Whiskey, aged rum, slow-sipping pours
Crushed or Pebble Ice
High surface area provides rapid chilling and continued dilution. In juleps, swizzles, and tiki drinks, that evolution is part of the recipe.
Juleps, swizzles, tiki drinks, cobblers
Temper and Store Clear Ice
Proper handling prevents cracked cubes, freezer odors, surface frost, and a bag of ice frozen into one solid mass.
Temper Before Serving
Do not pour a room-temperature drink directly over a deeply frozen cube. Let the ice sit in the glass until the surface frost begins to clear and the cube looks slightly glossy.
The brief warm-up reduces thermal shock and makes cracking less likely.
Store It Airtight
After cutting or unmolding the ice, freeze the pieces separately before transferring them to a sealed freezer bag or container.
Airtight storage protects the ice from absorbing freezer odors and helps keep individual pieces from bonding together.
The Ice Playbook
Choose ice according to the job it needs to perform, not merely according to how it looks.
| Ice Type | Best For | Why It Works |
|---|---|---|
| Standard solid cubes | Shaking and stirring | Quick chilling, predictable mixing, easy straining |
| Large clear cube | Rocks drinks | Gradual dilution and strong visual presentation |
| Clear sphere | Neat spirits and slow sipping | Low surface area relative to volume |
| Crushed or pebble ice | Juleps, swizzles, and tiki drinks | Rapid chilling and intentional continued dilution |
Next: Master the Physical Technique
Put the recipes, ingredients, and ice together by learning how to seal a Boston shaker, stir smoothly, and strain with control.